Welcome to the second part of a blog post series called Creating End-to-End Web Test Automation Project from Scratch. The series consists of 8 posts in total:
- Let’s Write Our Test Scenarios!
- Bonus: Recording Failed Scenario Runs in Ruby
- Let’s Configure Our Web Test Automation Project for Remote Browsers and Parallel Execution
- Let’s Dockerize Our Web Test Automation Project
- Bonus: Recording Scenario Runs on Docker with Selenium Video!
- Let’s Integrate Our Dockerized Web Test Automation Project with CI/CD Pipeline!
- Auto-Scaling and Kubernetes Integration with KEDA
Let’s Write Our Test Scenarios!
In the previous post, we created our web test automation project and configured it. Now we are going to write our test scripts by covering a few topics, including Behaviour Driven Development and Page Object Model and finish our basic project. But hey, this is just the beginning. :)
Behaviour Driven Development (BDD)
In a nutshell, Behaviour Driven Development is a method to write test scripts in an everyday language so that every stakeholder understands what the system should do without needing any coding background.
You will implement this approach with the Cucumber framework by using Gherkin syntax. Before you dive into the code, please read my blog post titled “Gherkin Keywords and Cucumber Expression”. It will give you a fundamental understanding of what you are going to do.
The First Test Feature
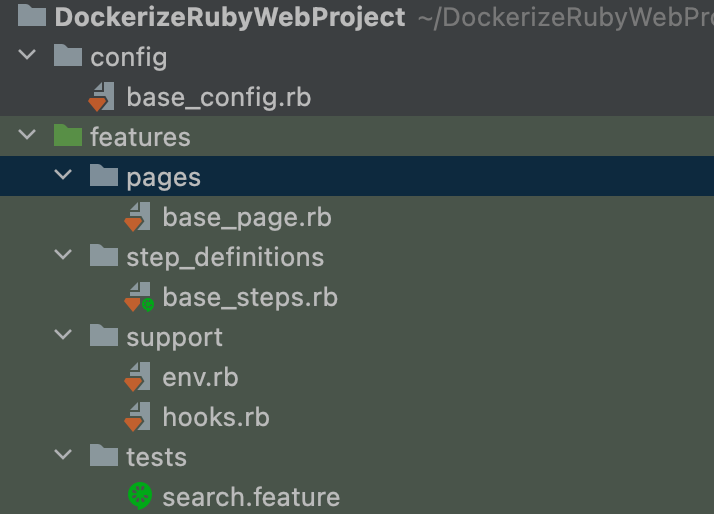
Create a folder called “tests” under the features folder, and then create a file named “search.feature” under it. 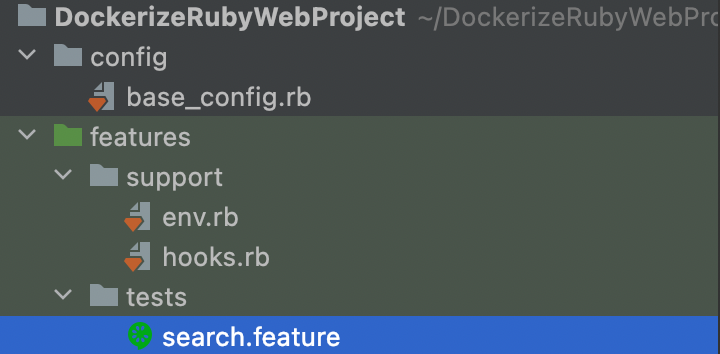
RubyMine IDE recognises .feature files as Cucumber files and gives specific icons to them.
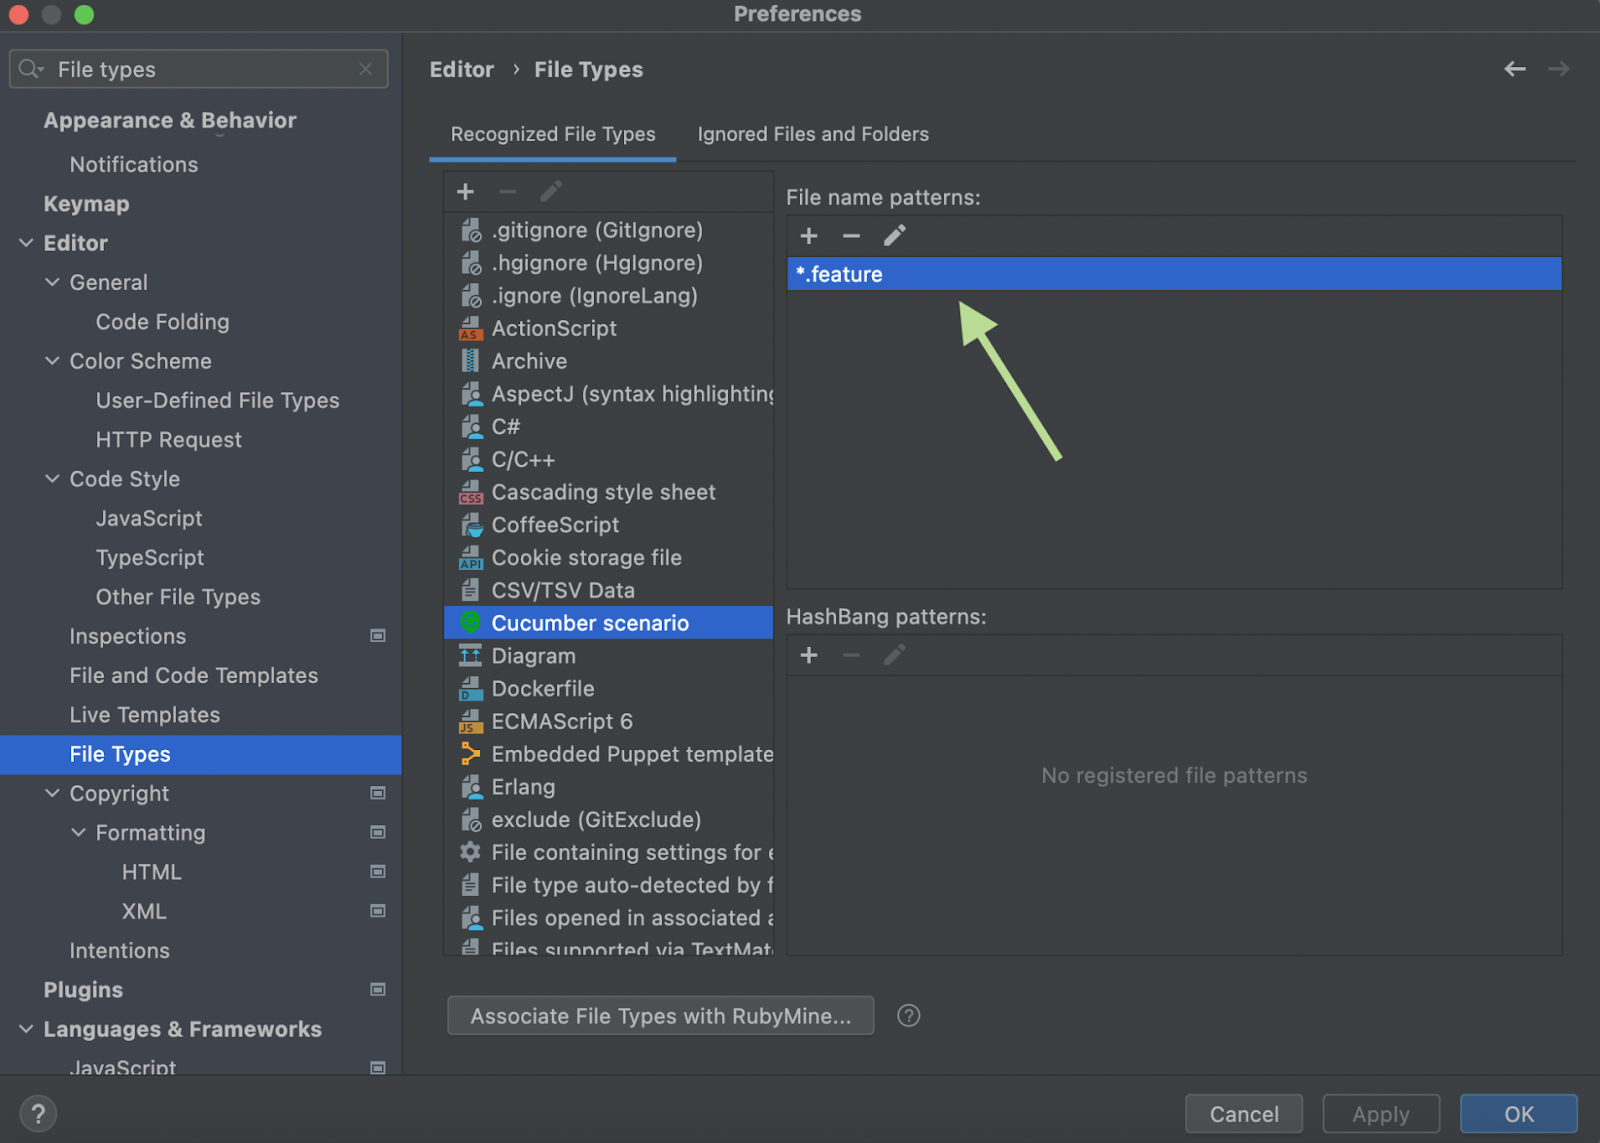
Note: Sometimes the IDE may not recognise feature files. If you encounter this issue, you need to add the file type to the IDE. To do this, go to RubyMine -> Settings -> File Types -> Cucumber Scenario, then click on the “+” sign and add “*.feature” there.
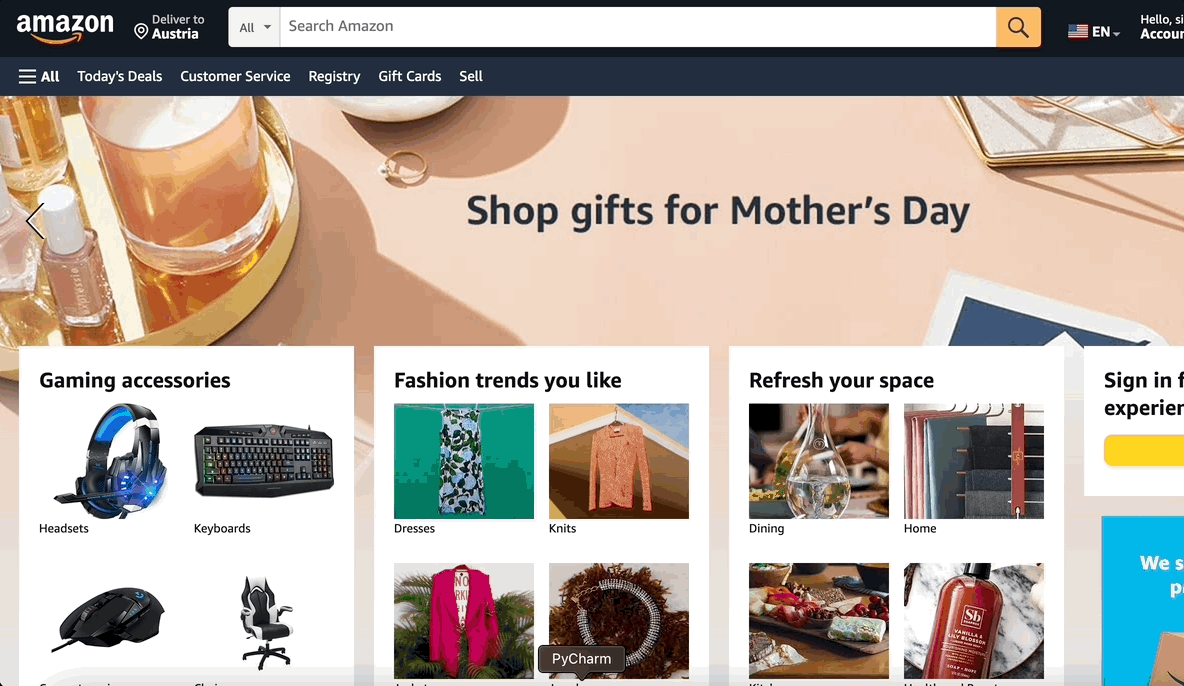
Now, your first test is going to be about the search feature on amazon.com. The test steps are:
- Navigate to www.amazon.com website.
- Fill the search bar with a keyword and click on the search icon.
- Verify that the listed results are related to that keyword.
Here is the test expressed in Gherkin syntax for Cucumber:
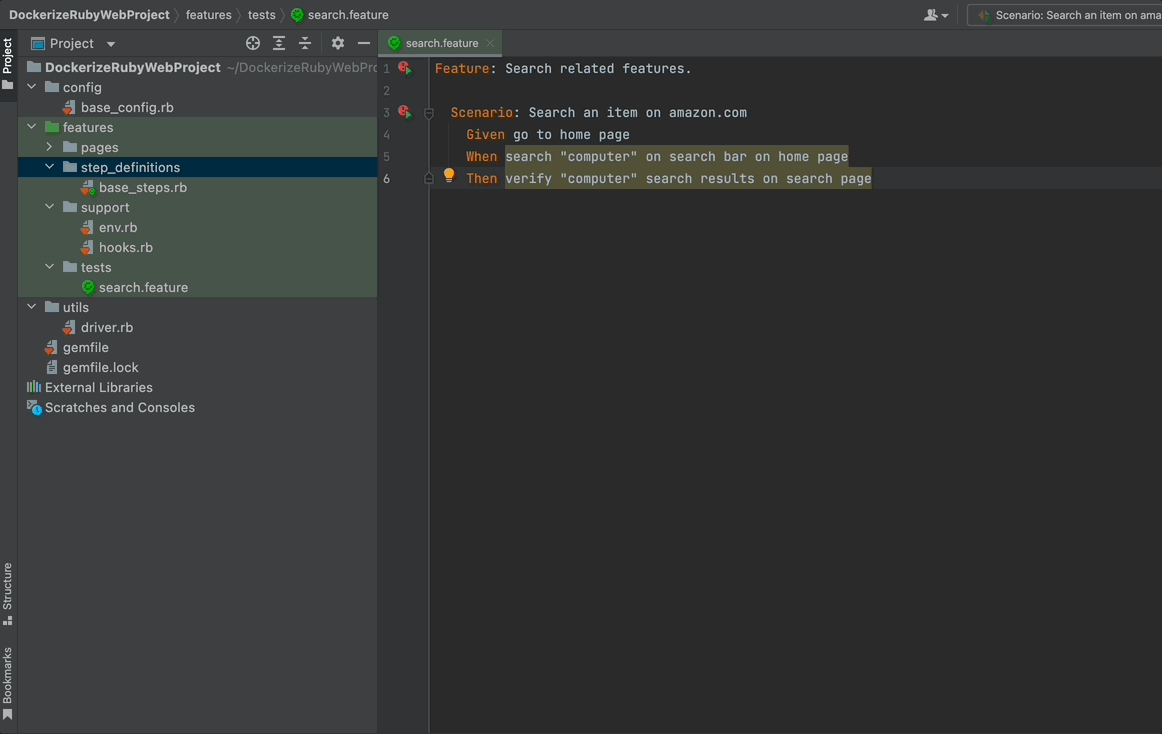
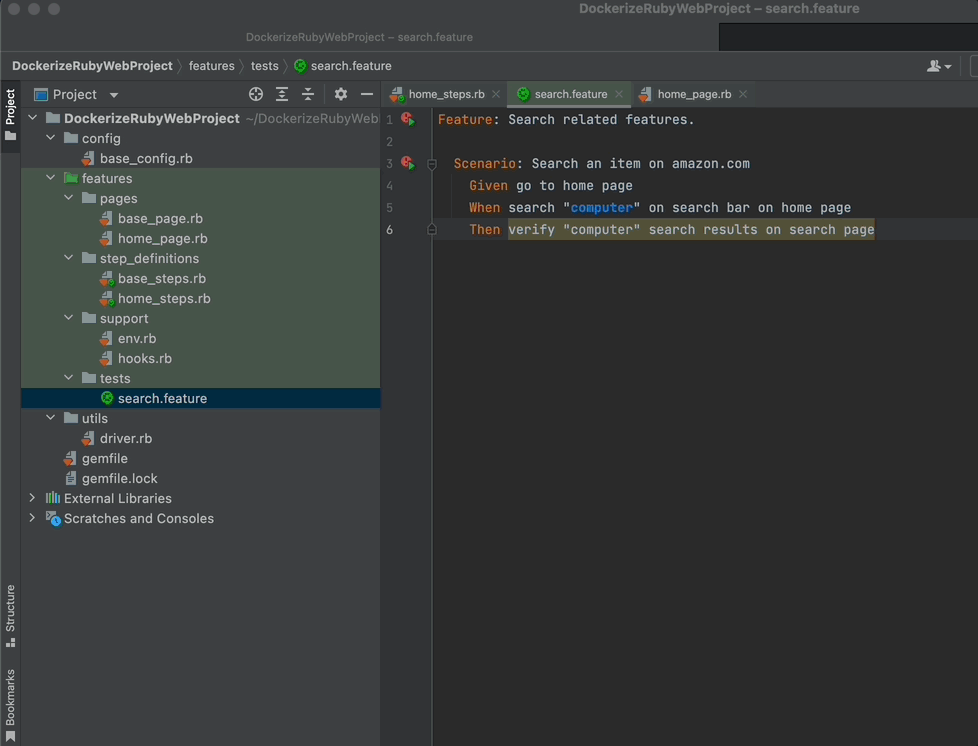
Feature: Search related scenarios.

 Scenario: Search an item on amazon.com
   Given go to home page
   When search "computer" on search bar on home page
   Then verify "computer" search results on search page
If you don’t understand what these steps mean, it means that you didn’t read the post I mentioned earlier :) Please read it.
If you have followed the steps above, this is what you should be seeing:
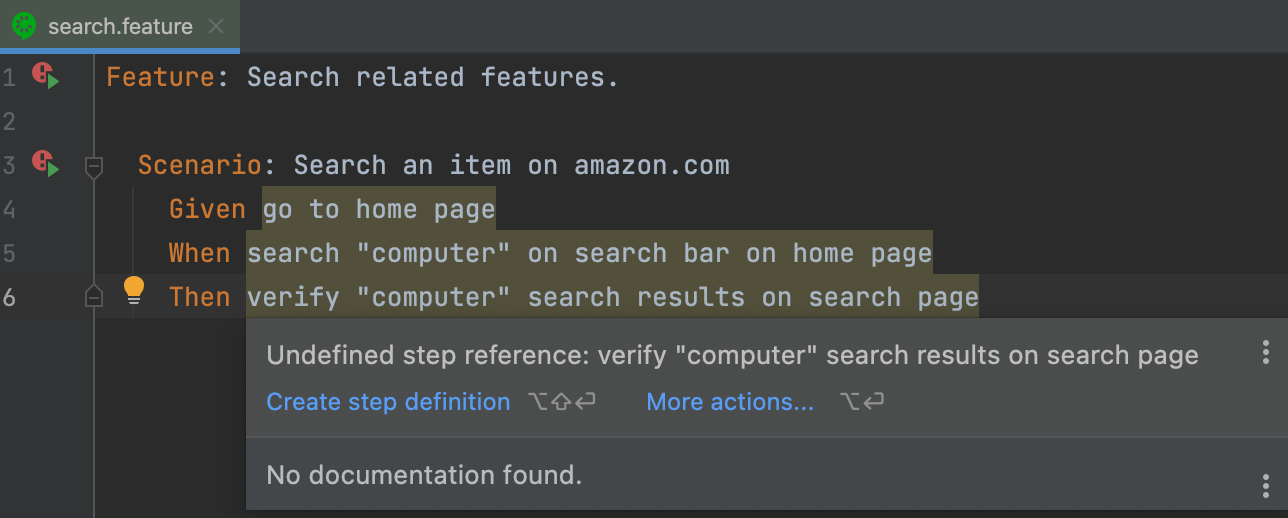
Why? Why these errors? These are just simple words, that’s why. To give these steps a purpose, you need to define them through code in the background.
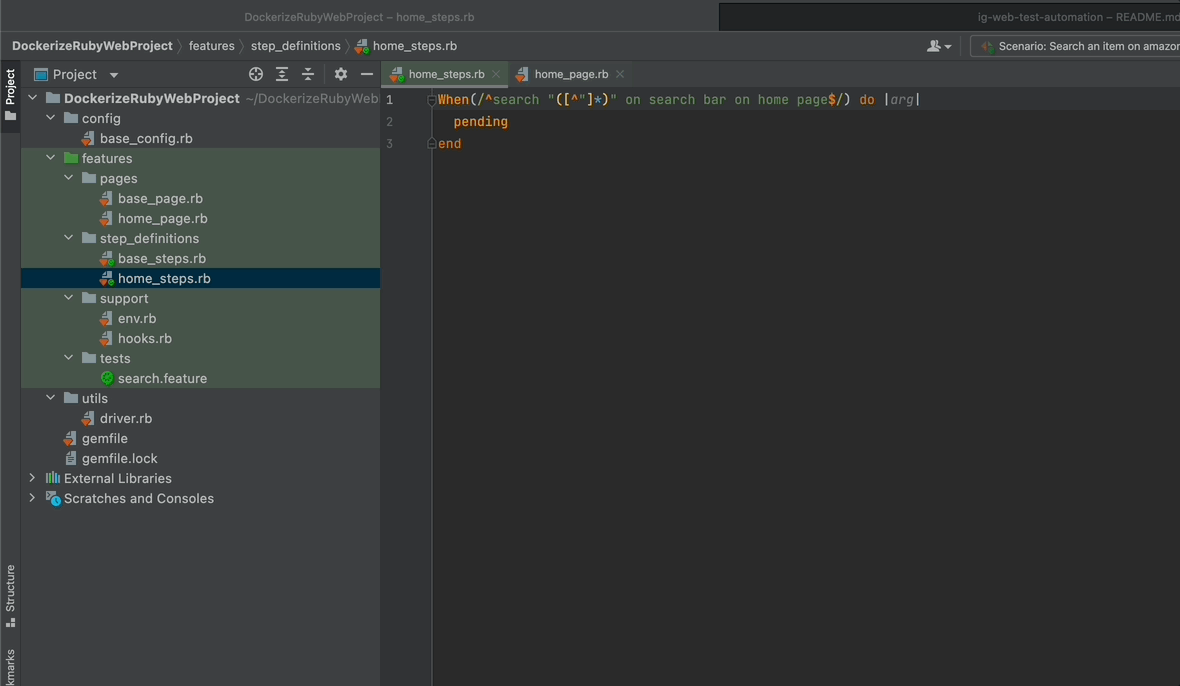
To do that, create your first step definition file called “base_steps” by:
- Right-clicking on your first step (the line that starts with Given)
- Show context actions
- Create step definition
- Create a new file
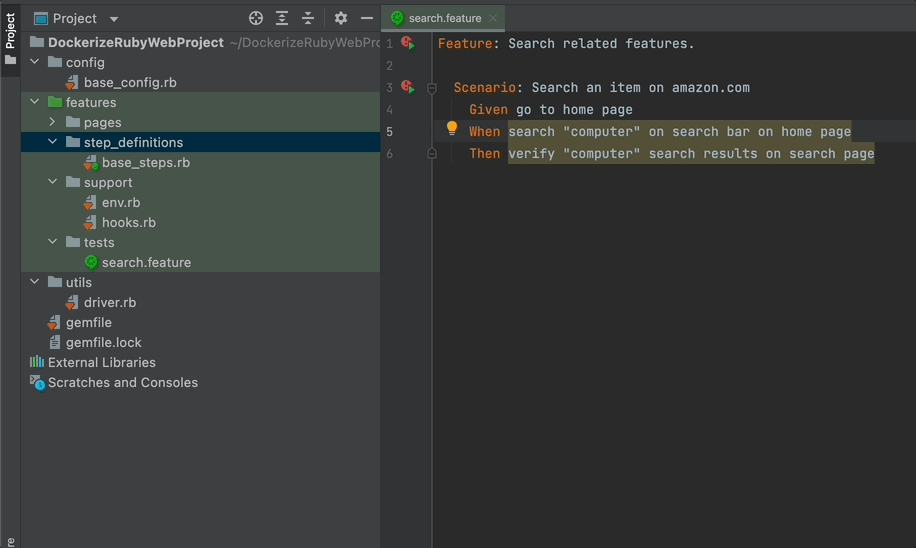
You will see that your page is created under the “step_definitions” folder which is a default Cucumber folder.
In case your IDE does this automatically, you can just manually create a file under the step_definitions folder.
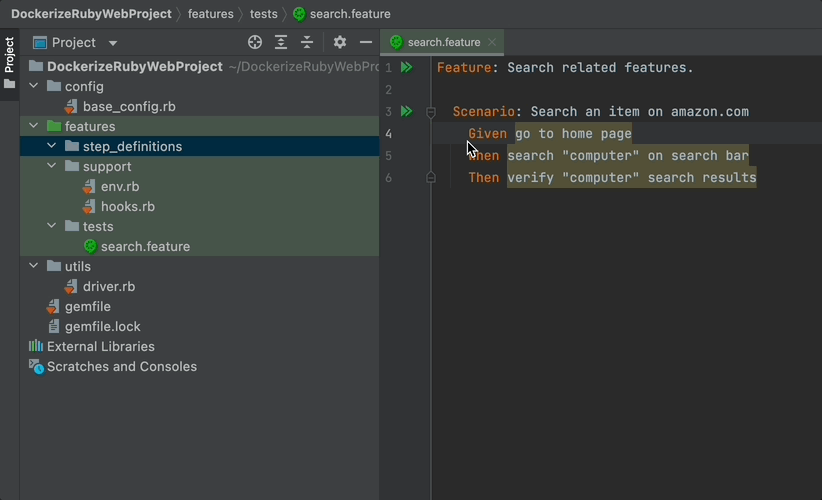
This is where we ended up:
Given(/^go to home page$/) do
 pending
end
To get through this, let me talk about Page Object Model first.
Page Object Model (POM)
With the Page Object Model, we consider each web page as a class file. All the objects that exist on that page should be inside this class and nowhere else. By following this approach we reduce code duplication and make code maintenance much easier since a person can easily figure out where to look for the elements they are working with.
Let’s look at the schema below. In the project structure, you can see that page-specific elements and functions reside in respective files. Also, note that there are elements named “search_bar” on both pages. Since these are different pages, it is possible to use the same name for different elements having similar properties. We use them in page-specific contexts, so they do not conflict.
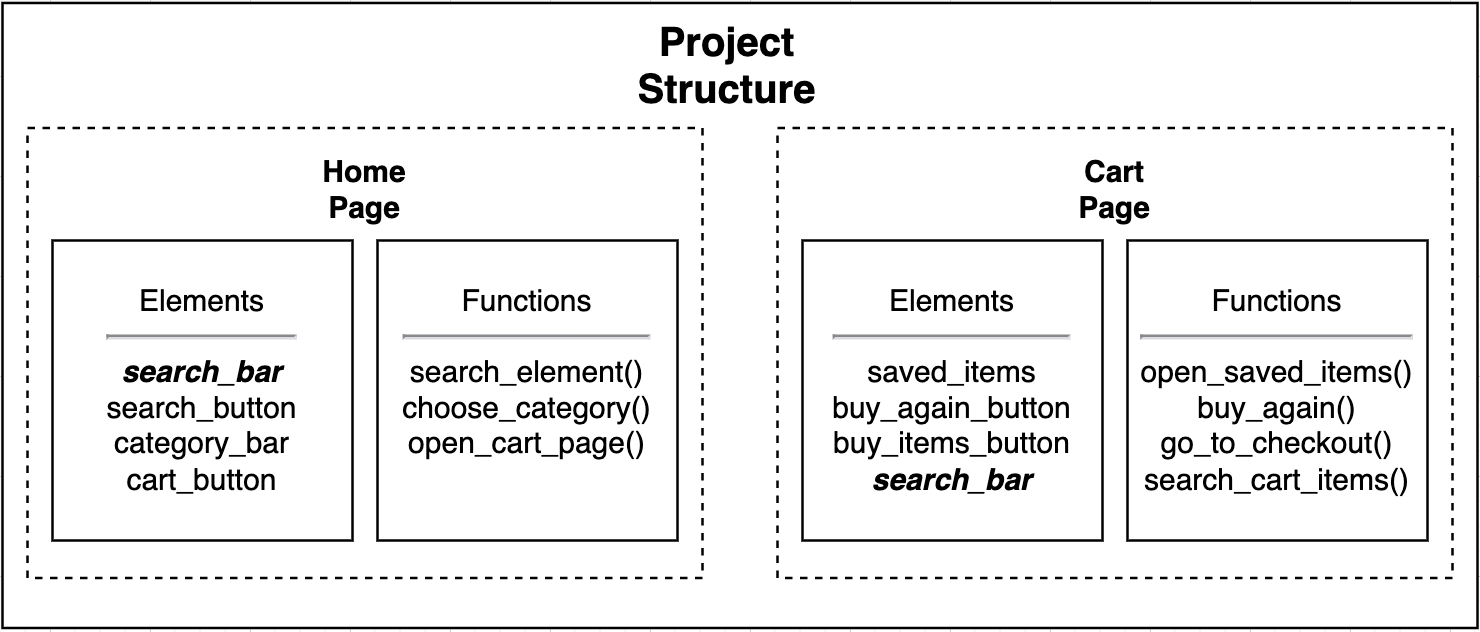
“Then, why did we name our step file base_page?” Since visiting URLs is a general step, I prefer to put them under a step definition file named base_page. All objects and functions that cannot be categorised can be put there. Note that this is just a convention I use and not a universal rule. With time, you may also develop your own approach.
Let's create your first page class base_page.rb file, in which you will write your navigating method!
Your First Page
Now create a folder called “pages” under the features folder, and then create a file named “base_page.rb” under it.
Then define your class as BasePage and write your first class method.
Since you defined your default host in the environment file with app_host parameter in the previous blog post, you can just write visit function and it navigates to 'https://www.amazon.com' by default.
class BasePage

 def go_to_home_page
   visit
 end

end
But if you want to visit a different webpage, you can pass a parameter:
class BasePage

 def go_to_home_page
   visit('https://www.kloia.com')
 end

end
Now that you have your method, you can define your step with it.
base_page = BasePage.new

Given(/^go to home page$/) do
 base_page.go_to_home_page
end
What does the first line do? Basically, you need to call your go_to_home_page method from a different file. In order to do that, you need an instance of that class that has the objects and methods. So you create an instance called base_page with base_page = BasePage.new line and access your methods through this instance.
Now you have your first step ready. Run your Scenario and see what happens!
When you run the feature, you will see that your driver will navigate your browser to www.amazon.com but then close it without doing anything else since you did not define the other steps yet.
Note that the browser has terminated after the execution of steps. This is because we defined this behaviour in our hooks. See the previous blog post in this series.
It’s time to define your second step!
Create your second step definition like the first one, but this time name your file as home_steps.rb, since the objects and functions will be about the home page.
Now create your home_page.rb under the pages folder as well:

And modify your file:
initialize is the constructor method in ruby. You are going to define all your objects as variables inside of initialize method.
Now let’s find your first object on Amazon, search bar!
You need to locate your objects with their CSS selector. For this:
- Open the www.amazon.com
- Right-click on the page and click inspect on the right-click menu.
- Click the element selection button
in the upper left corner.
- Then click on the element that you want to inspect. In this instance, it is the search bar.
- Copy the id of the object. Which is “twotabsearchtextbox”.
- Append # to use this id as a CSS selector: #twotabsearchtextbox. It is important to make sure that you write a CSS selector that matches only a single element on the page.
Tip: You can search your CSS selector with cmd+f to see if it matches or not.
Note that the syntax for CSS selectors are critical in picking the right elements:
- . means class => .nav-progressive-attribute
- # means id => #twotabsearchtextbox
For the comprehensive css selector sheet, please refer here.
Now create your object variable with the selector you picked:
class HomePage
 def initialize
   @txt_search_bar_css="#twotabsearchtextbox"
 end
end
Now try to create a unique selector for the search button without looking below.
class HomePage
 def initialize
   @txt_search_bar_css="#twotabsearchtextbox"
   @btn_search_submit_css="#nav-search-submit-button"
 end
end
Now you have all your objects, write a method to search a keyword.
def search_item(item)
 find(@txt_search_bar_css).send_keys(item)
 find(@btn_search_submit_css).click
end
First, you need to create your function search_item(item), which takes one argument named "item,” which is the product that you want to find in a string format.
find method finds an object with the selector, and by appending the send_keys function to it, you can send text into the text fields. The item that you send through here is the product name you want to search for.
Note that Capybara provides you with useful functions to give commands to your webdriver such as fill_in and click_button functions, which take id, text or title as arguments.
class HomePage
 def initialize
   @txt_search_bar_id="twotabsearchtextbox"
   @btn_search_submit_id="nav-search-submit-button"
 end
end
def search_item(item)
 fill_in(@txt_search_bar_id, with: item)
 click_button(@btn_search_submit_id)
end
Note that while naming object selector, I used three-charactered labels as a prefix to make it easier to know what type that object is. So when you see an object starting with a txt prefix, you can understand that it is a textbox, and you can send words into it with suitable methods. As a suffix, I stated in which type selector is written such as css, xpath, or id.
You can find my naming conventions for object locators in the table below. You can create and use your own convention as well. Just make sure you stick to it.
| Prefix        | Example           | Locator      |
| ------------- |-------------------|------------- |
| btn           | btn_login_id      |  Button      |
| chk           | chk_status_css    |  Checkbox    |
| cbx           | cbx_english_xpath |  Combo box   |
| lbl           | lbl_username_css  |  Label       |
| drp           | drp_list_xpath    |  Drop down   |
| slc           | slc_list_css      |  Selectbox   |
| txt           | txt_email_css     |  Textbox     |
| img           | img_logo_xpath    |  Image       |
| rdx           | rdx_female_xpath  |  Radiobox    |
Also adding locator type as suffix can help you to specify locator type when using certain methods. Sometimes you may need to pass the locator type to a function as an argument. You did not need to specify in your previous elements and that is because the default selector is css. Do you remember that you chose your default selector as “:css” in the env.rb file?
If you want to use xpath locator instead, you specify it like this in the find method:
find(:xpath, @btn_search_submit_xpath)
Since you sent your text into the text field of the search bar, now you need to click on the search button next to it.
find(@btn_search_submit_css).click
Let’s find your object with the find method, and then click on it by appending the click method to the find method.
Now that your function for searching for an item is ready, it is time to implement it in the step definitions you have.
- Create a class instance of HomePage called home_page.
- Call our search_item method through it in the body of the step definition.
- Pass the arg to our function.
Note that the arg you passed is the word that you write in the feature file enclosed with double quotes. So the computer will be passed as an argument for this instance. With this configuration, you have made your step re-usable with different keywords.
Let’s run your code again!
As you see, it typed “computer” and clicked on the search button.
Now comes the last step in your scenario!
You need to verify that the results shown are related to the keyword that you searched.

Now you need to find the coloured keyword inside the double quotes and compare it with your search keyword. Try to find its CSS selector, then check your result with the code below.
class SearchPage
 def initialize
   @lbl_search_result_css=".a-color-state.a-text-bold"
 end
 end
This time, I used class notation. Note that the lbl prefix indicates that this object is a label, so you can extract text from it. Do you realise that I have written this object in a new class named SearchPage? That’s because the search result text belongs to the search page.
So your project directory now looks like this:
Now create a verification method for search results:
def verify_search_results(item)
    find(@lbl_search_result_css).text.should include(item)
end
Here I defined a method called verify_search_results that takes the search keyword “item” as an argument.
What this method does:
- Find the object with a specified selector by using find method.
- Access its text by appending text method.
- Use RSpec’s should keyword to make an assertion statement. If it is false, the step fails.
What you assert is that the text of the lbl_search_result object includes your keyword itself. Why did you assert it with include but not with == operator, you might ask.
Let’s print find(@lbl_search_result).text to the console.
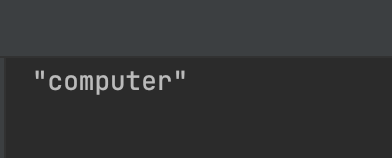
You can see that the text is within double quotes. So simply using == would fail since your keyword passed with an arg is not within double quotes.
For the verification to pass, you might try stripping this text from double quotes or enclosing your keyword with it. It is up to you. The below variation works as well:
def verify_search_results(item)
 find(@lbl_search_result_css).text.should =='"'+item+'"'
end
Now run your scenario one last time!
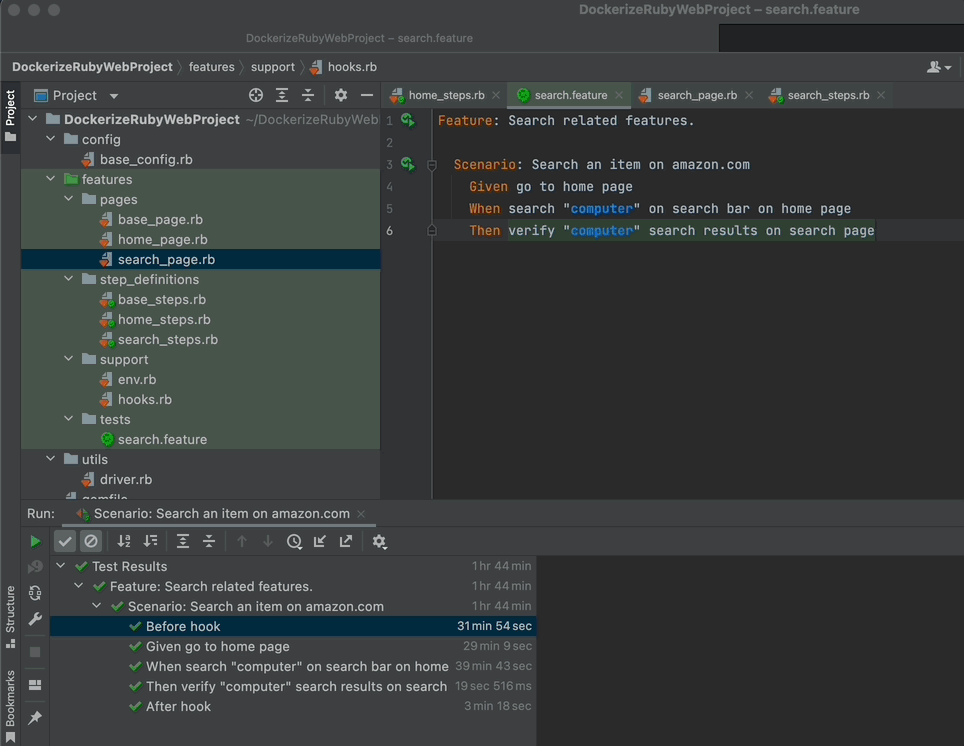
And you are done! You have created your first scenario! Let’s meet in the comments section if you have any questions.
Next, we are going to level up your project to run it on remote browsers and to run multiple scenarios in parallel! So before going to Part 3, please try to find and write at least 4 scenarios, so you can run your own scenarios in parallel!
