As business complexity grows in projects, many challenges are encountered. This may lead to an increase in error rates. To reduce these before the deadline, the QA team has to be quick while testing.Setting aside the reasons behind this, how can we ensure that tests will be passed faster and more reliably without bugs?
The solution is running automated tests in addition to manual testing. Even though manual testing may be cheaper and more beneficial in the short term, automated testing will be more effective and quantifiable in the long term..
In this blog, I will go through setting up the environment for automated UI tests. The preferred methods differ according to the structure of the projects, kloia generally recommends using a stack of Ruby, cucumber, capybara trio.
Before talking about their core concepts, let’s prepare the environment.
How to Install Ruby on Mac OS X
Step 1 - Install Homebrew "package management system”
You can make your life easier by using “homebrew" to install packages. It helps Mac OS users a lot.
To install homebrew, run
/usr/bin/ruby -e "$(curl -fsSL https://raw.githubusercontent.com/Homebrew/install/master/install)"Most Homebrew packages require a compiler. You can install the full Xcode from the AppStore or just Command Line Tools.
Step 2 - Install Ruby
rbenv is a lightweight Ruby management tool that is used to select Ruby versions. It can be used itself but also install different Ruby versions through its ruby-build plugin.
# install rbenv
$ brew install rbenv ruby-build
$ rbenv init
$ eval “$(rbenv init -)” >> ~/.bash_profile
$ Source ~/.bash_profile
Before installing Ruby, you can browse through its versions:
# lists all available versions
$ rbenv install -l
# install a Ruby version
$ rbenv install <package>
# check installed version
$ ruby -v
After checking the Ruby version, you should see a similar output:
Caner-MacBook-Pro:~ canerkaynar$ ruby -v
ruby 2.6.2p47 (2019-03-13 revision 67232) [x86_64-darwin17]
rbenv has some subcommands you can use. For detailed information, check its GitHub(https://github.com/rbenv/rbenv#installing-ruby-versions) page.
Step 3 - Install bundler
Bundler helps you manage gem dependencies and Gemfile is where you declare versions of every gem.
# install bundler
$ gem install bundler
Step 4 - VSCode Configuration
VScode is a source code editor for Windows, Linux and macOS. It is free and includes support for debugging. Visit VSCode page (visit https://code.visualstudio.com) to download it. The installation is simple and straight-forward.
After installing the editor, we can go on with installing extensions.
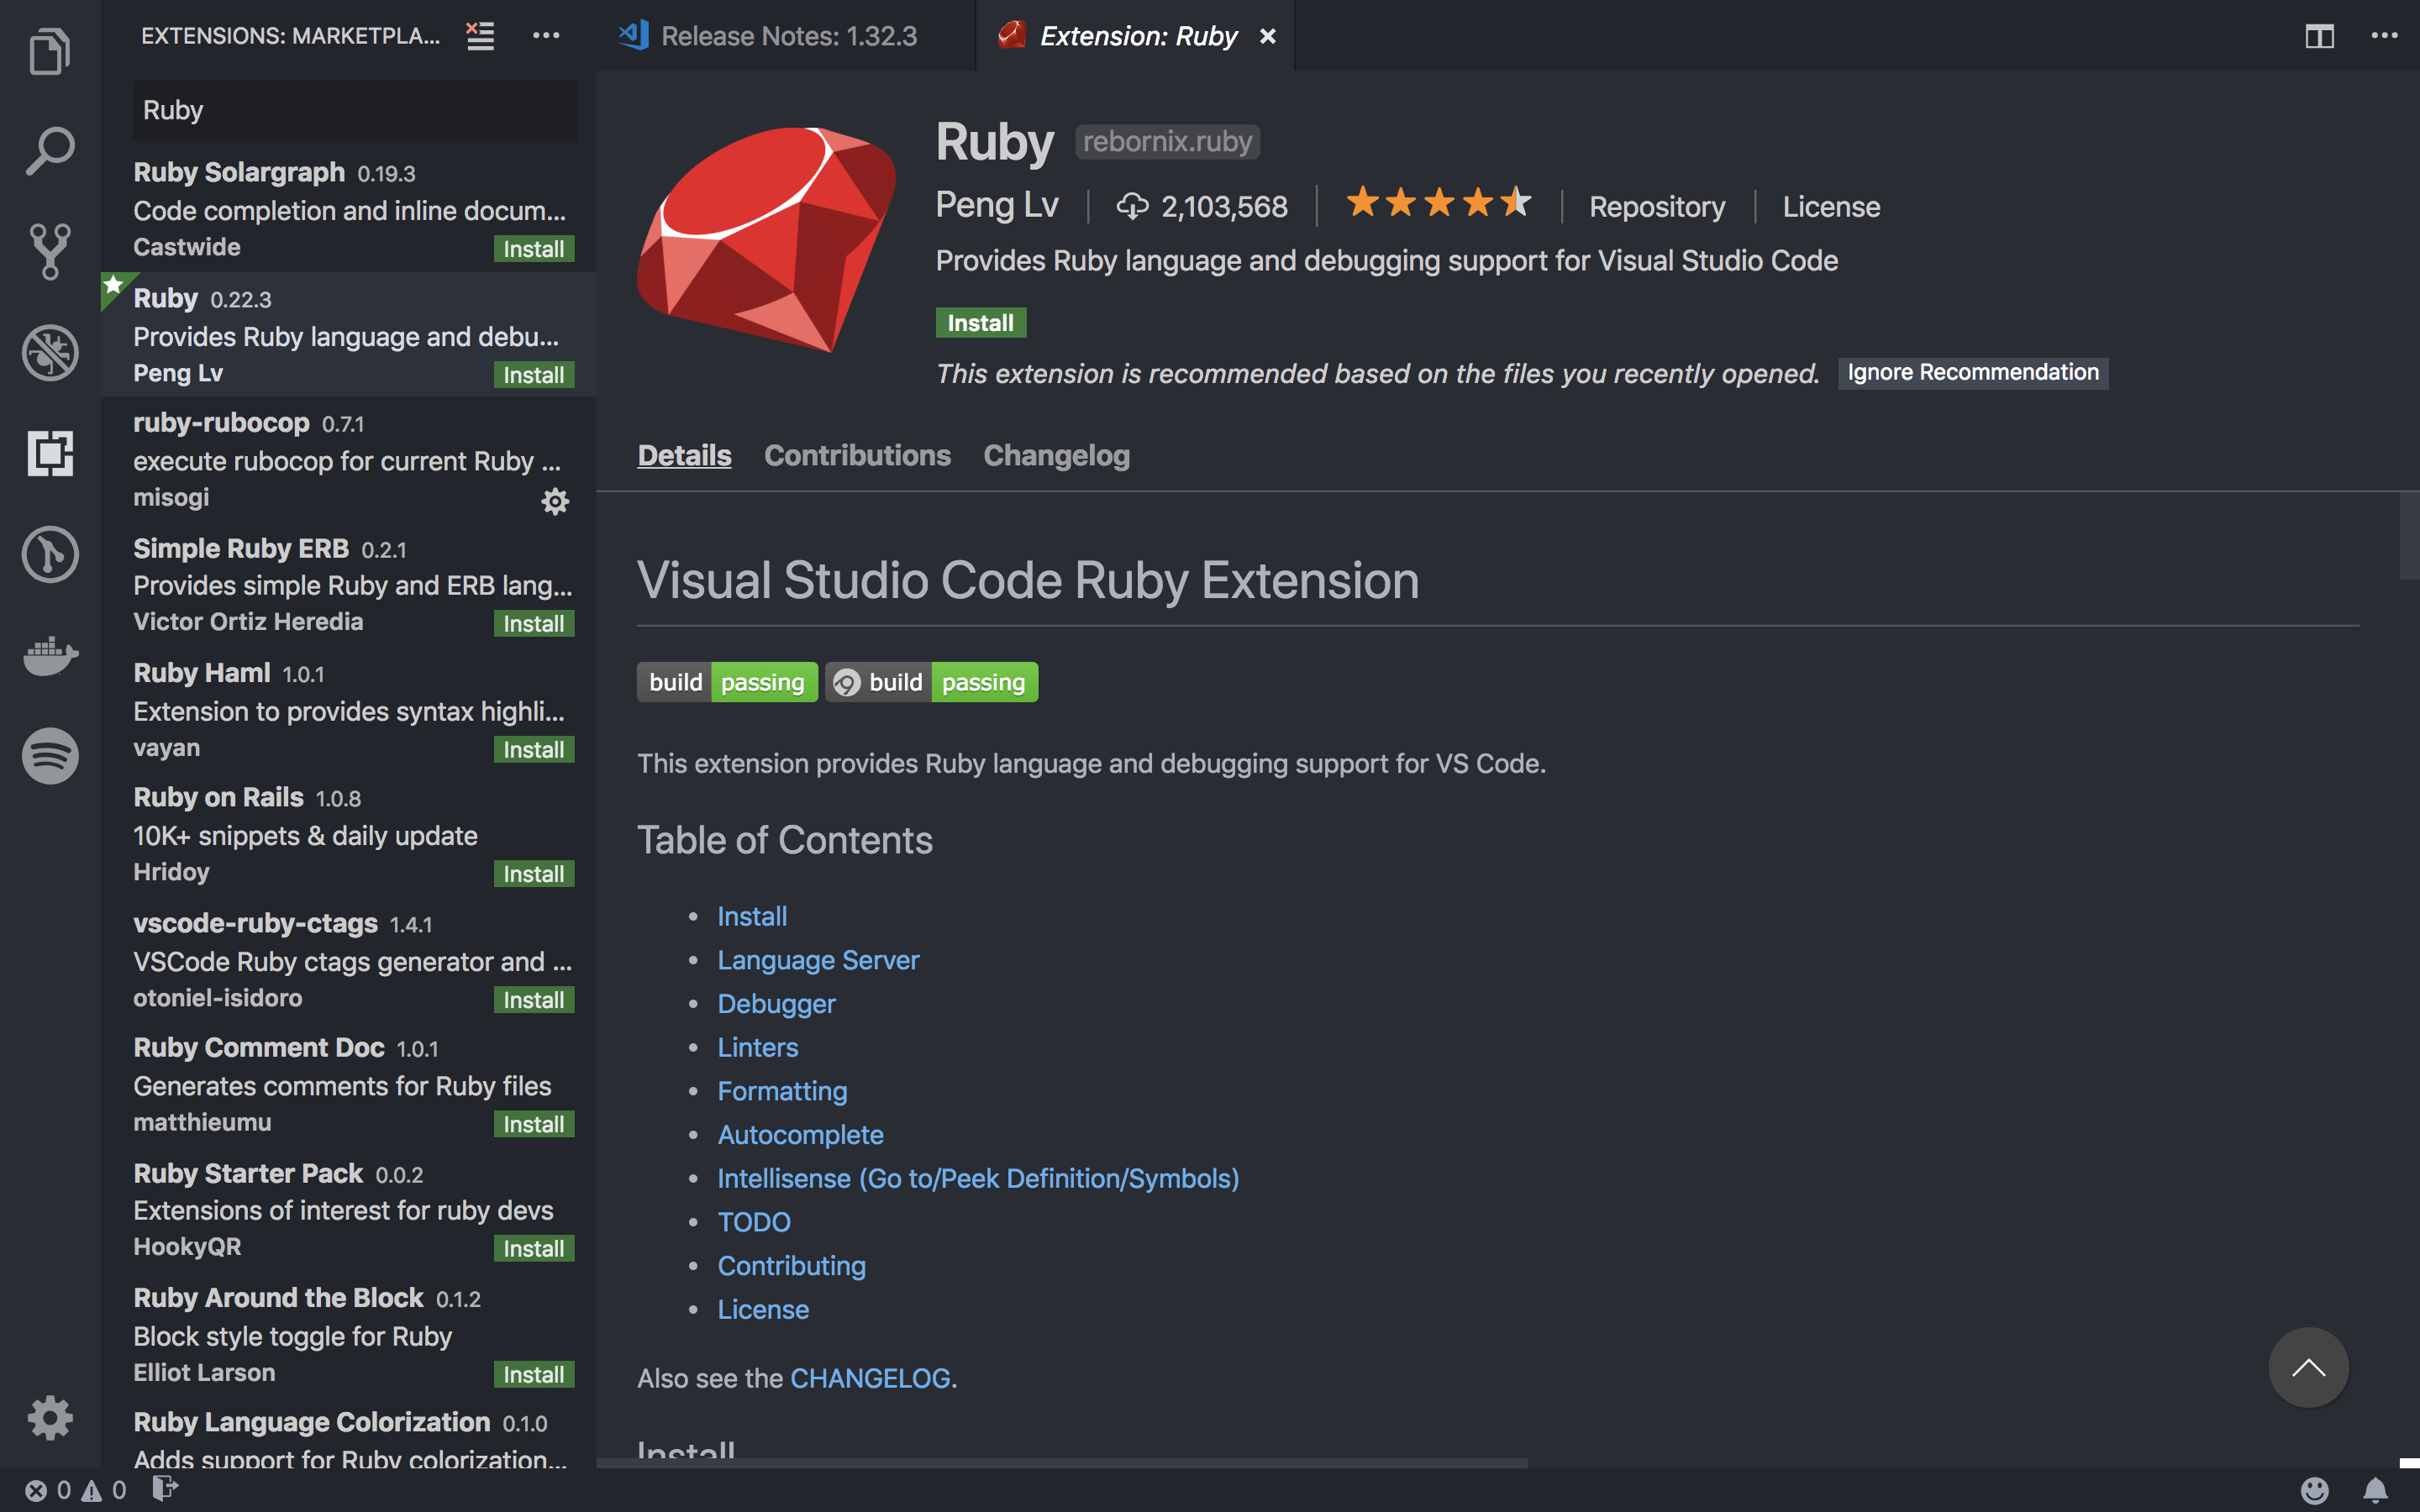
Extension 1 - Ruby
Go to Extensions from left side bar. Search for “Ruby”. Then install it.
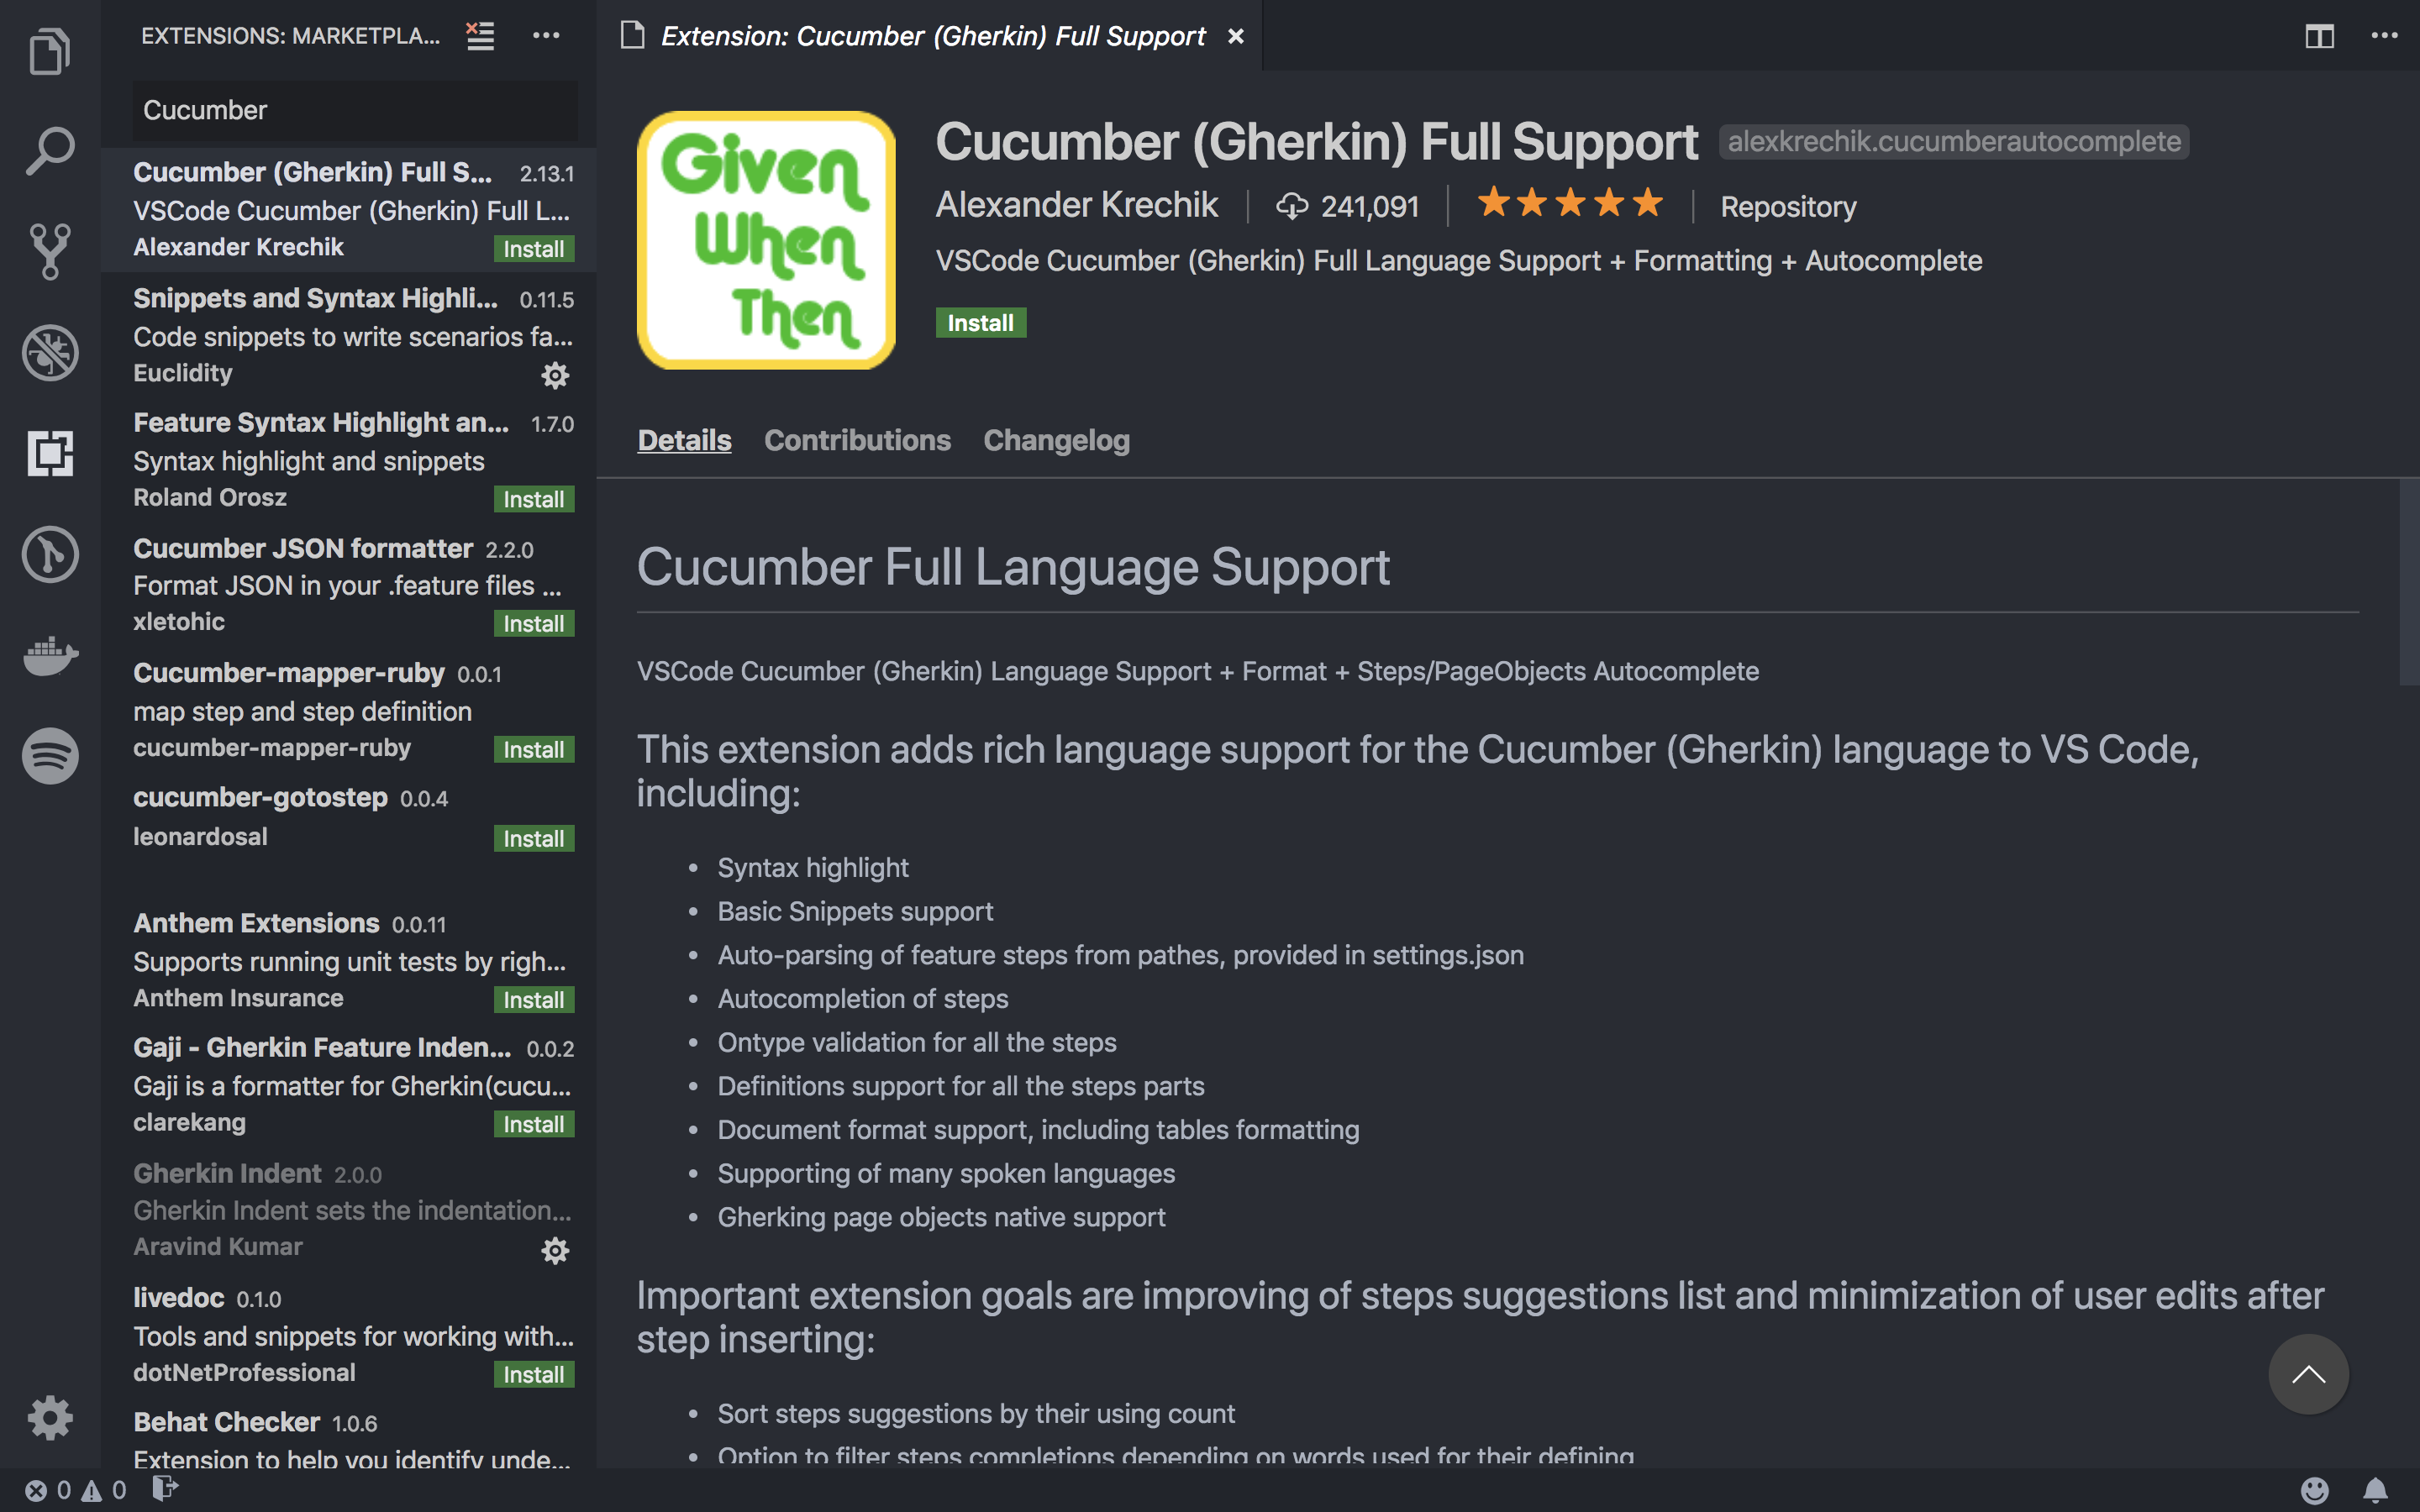
Extension 2 - Cucumber (Gherkin) Full Support
It adds support for Gherkin syntax in VSCode for writing Cucumber scenarios.
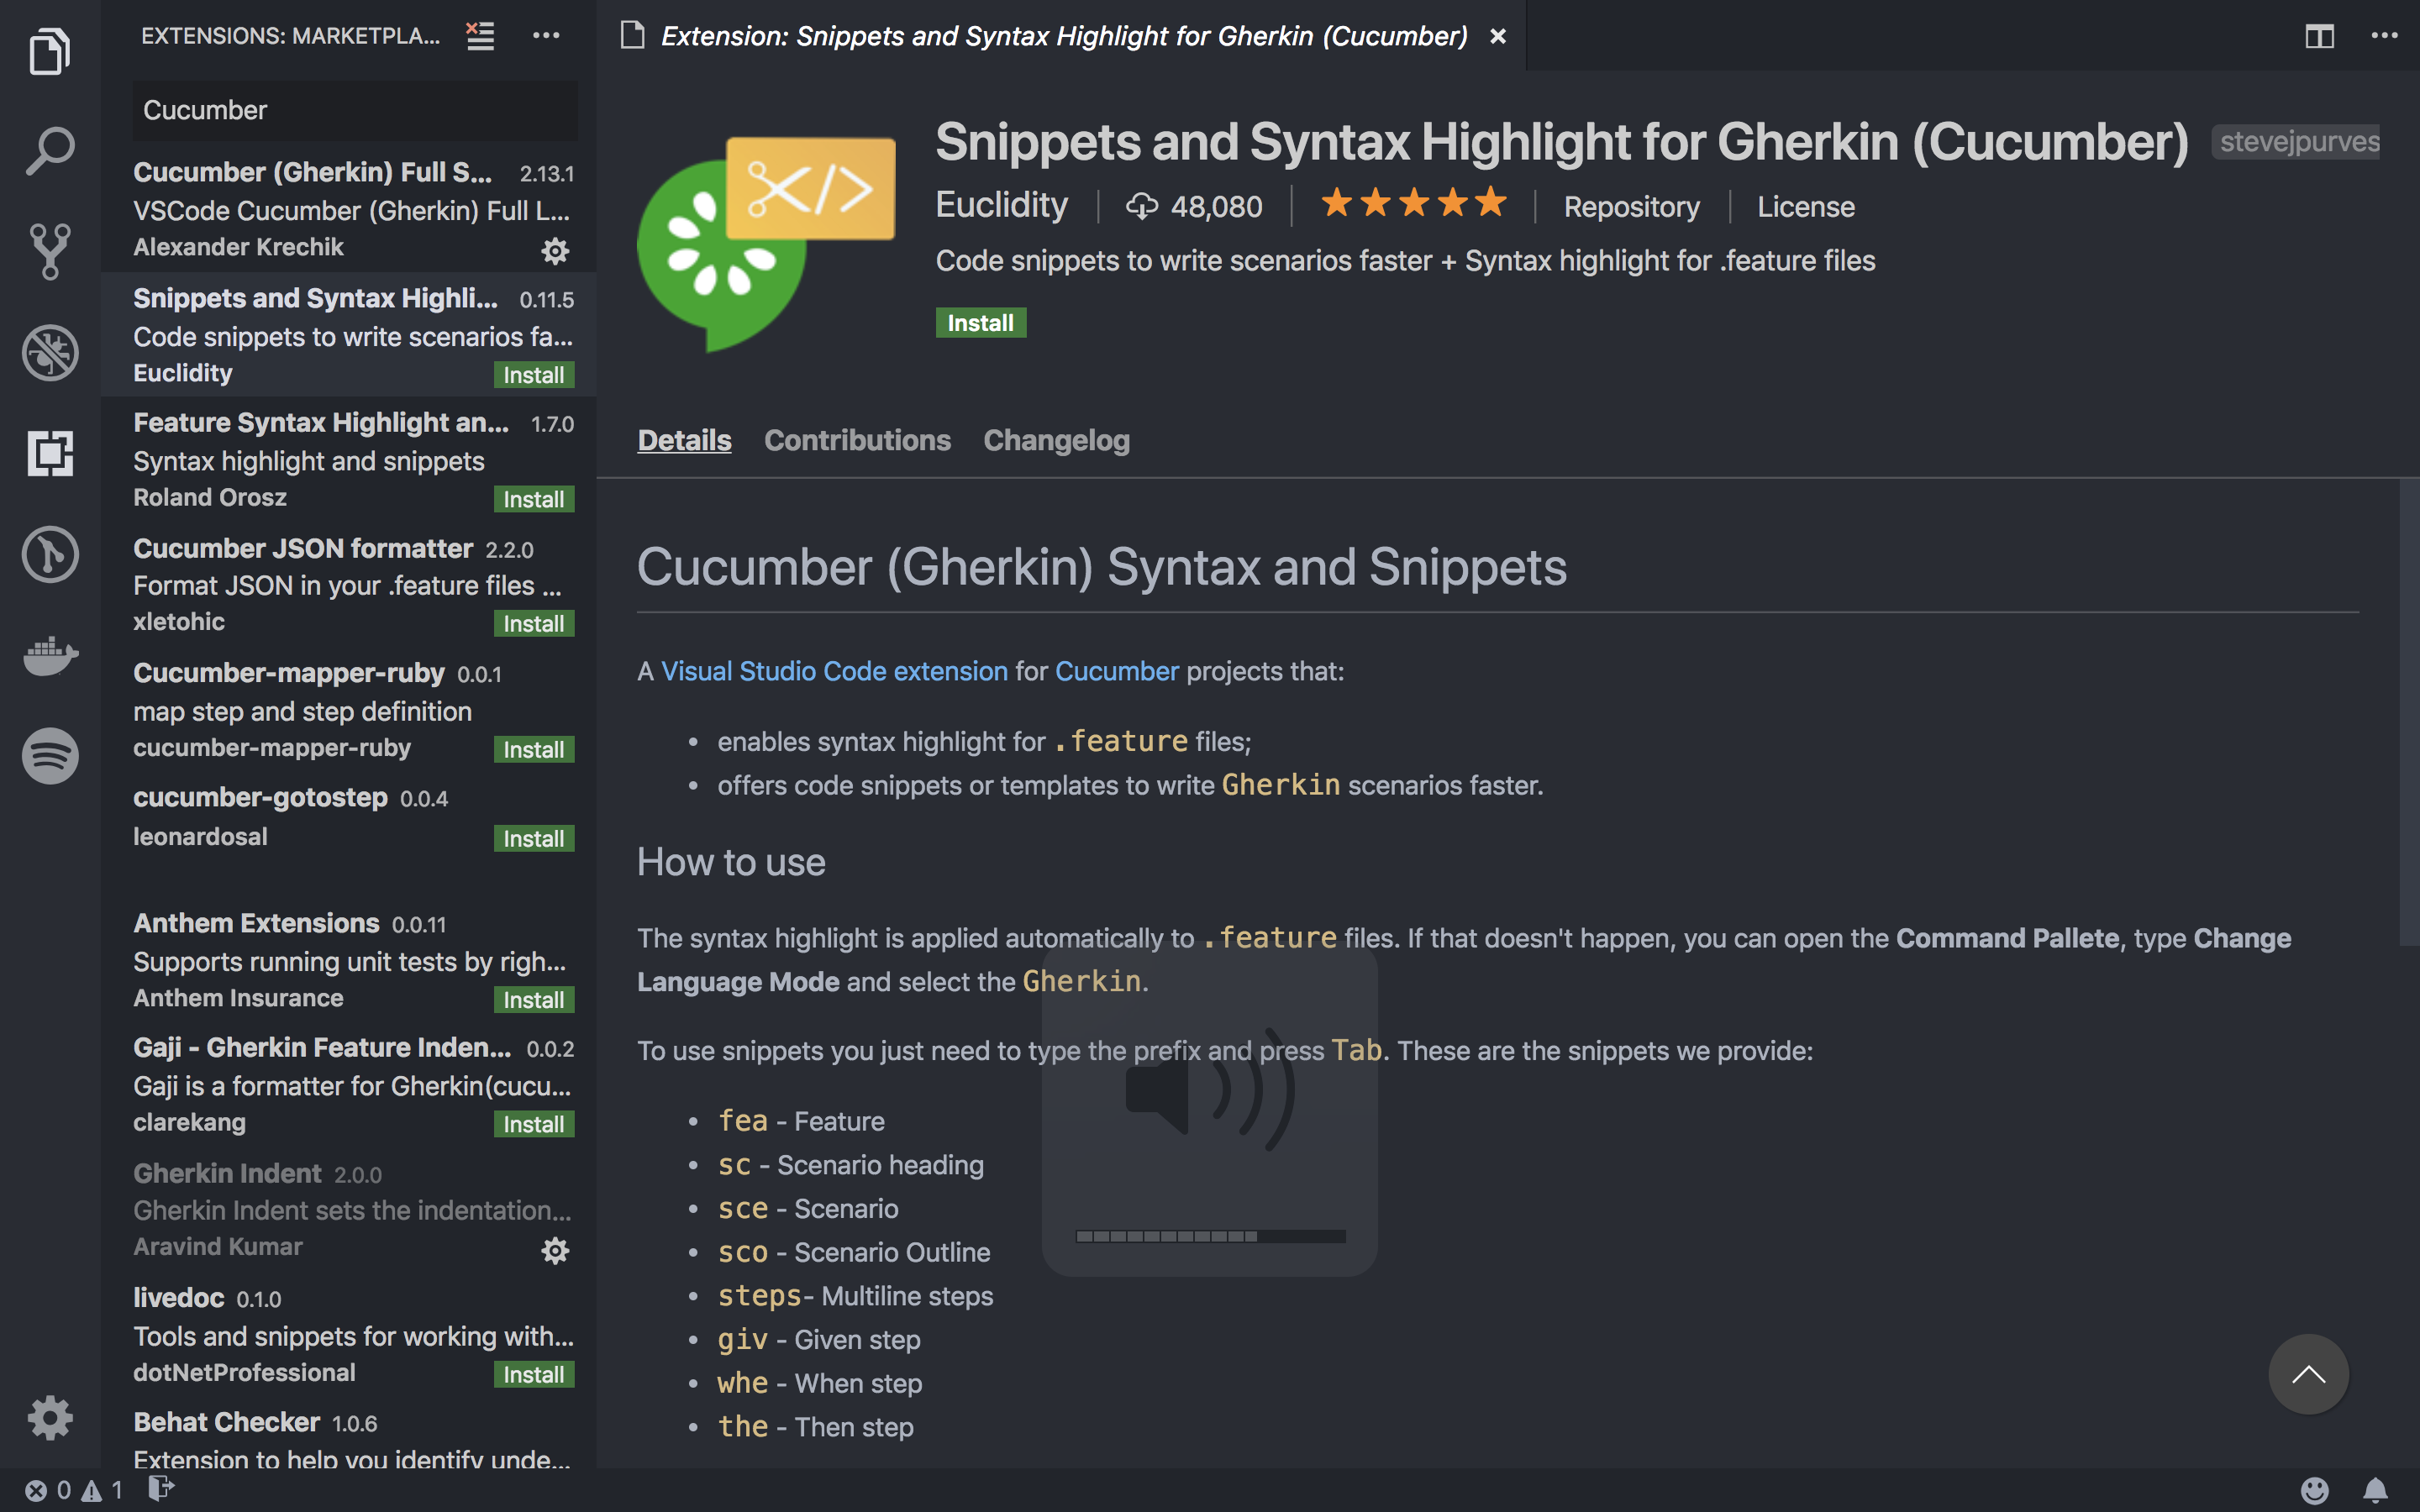
Extension 3 - Snippets and Syntax Highlight for Gherkin (Cucumber)
This extension makes it easier to create Cucumber scenarios by syntax highlighting and snippets.
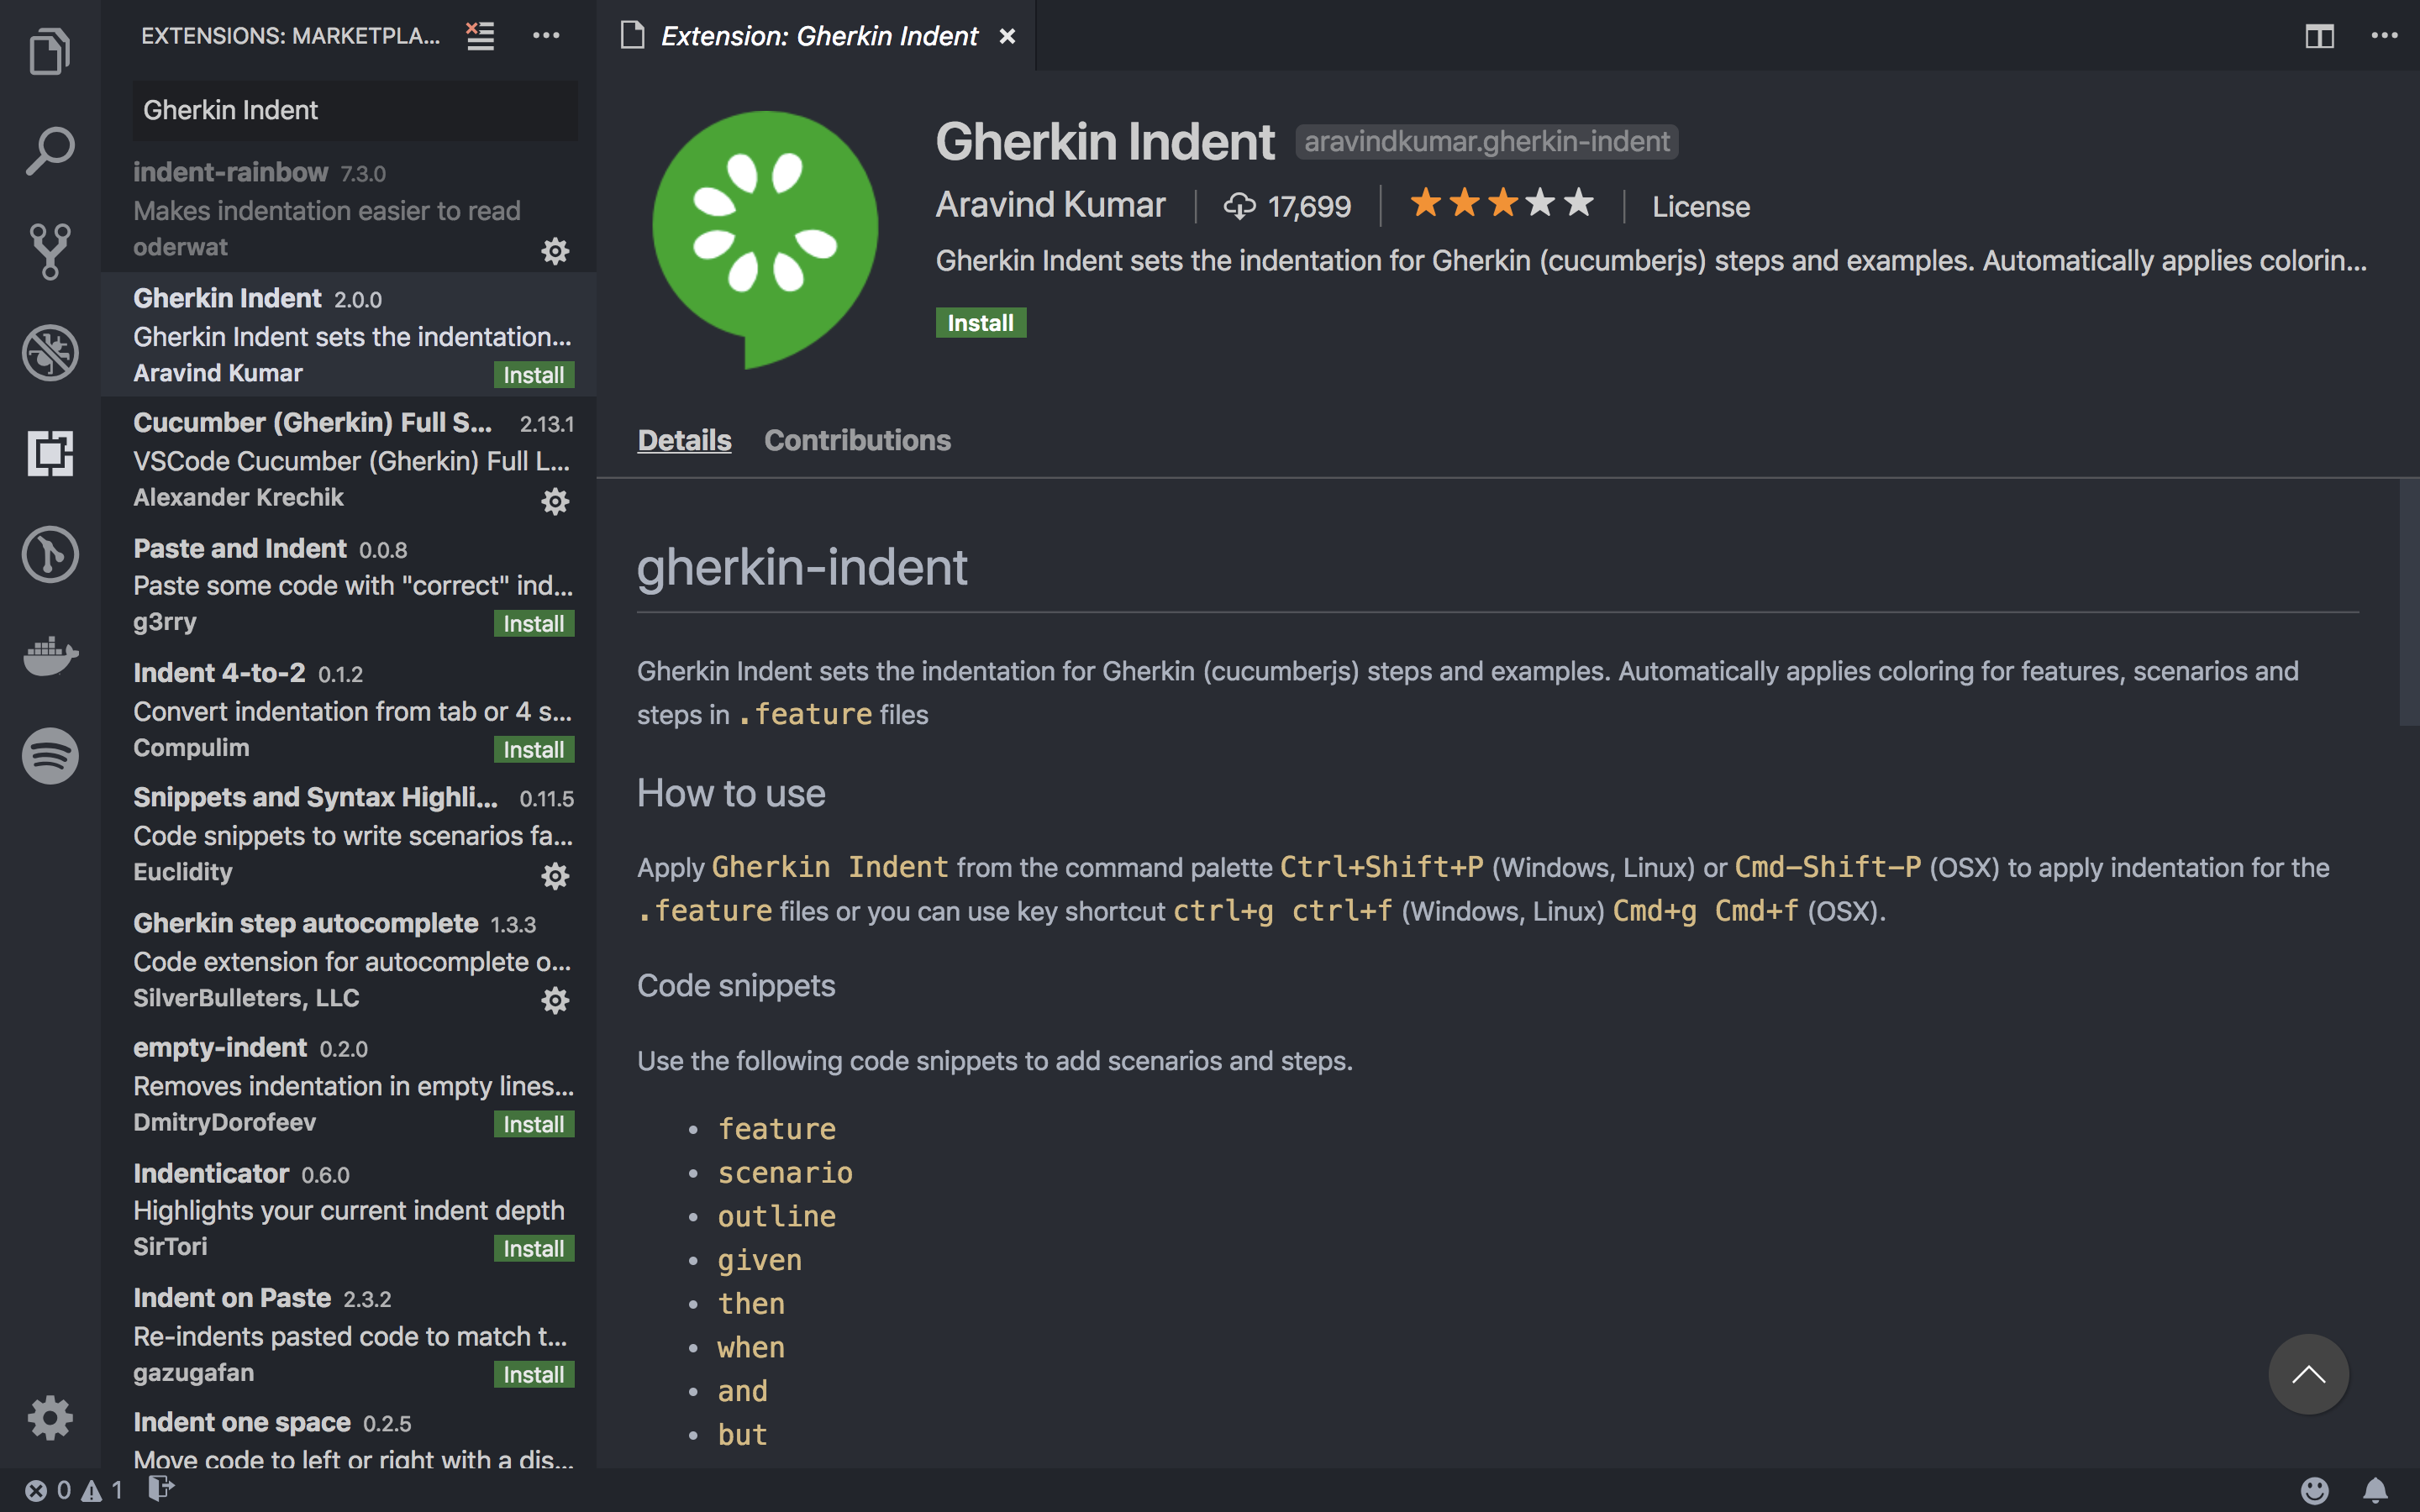
Extension 4 - Gherkin Indent
It automatically sets indentation and applies coloring for .feature files.
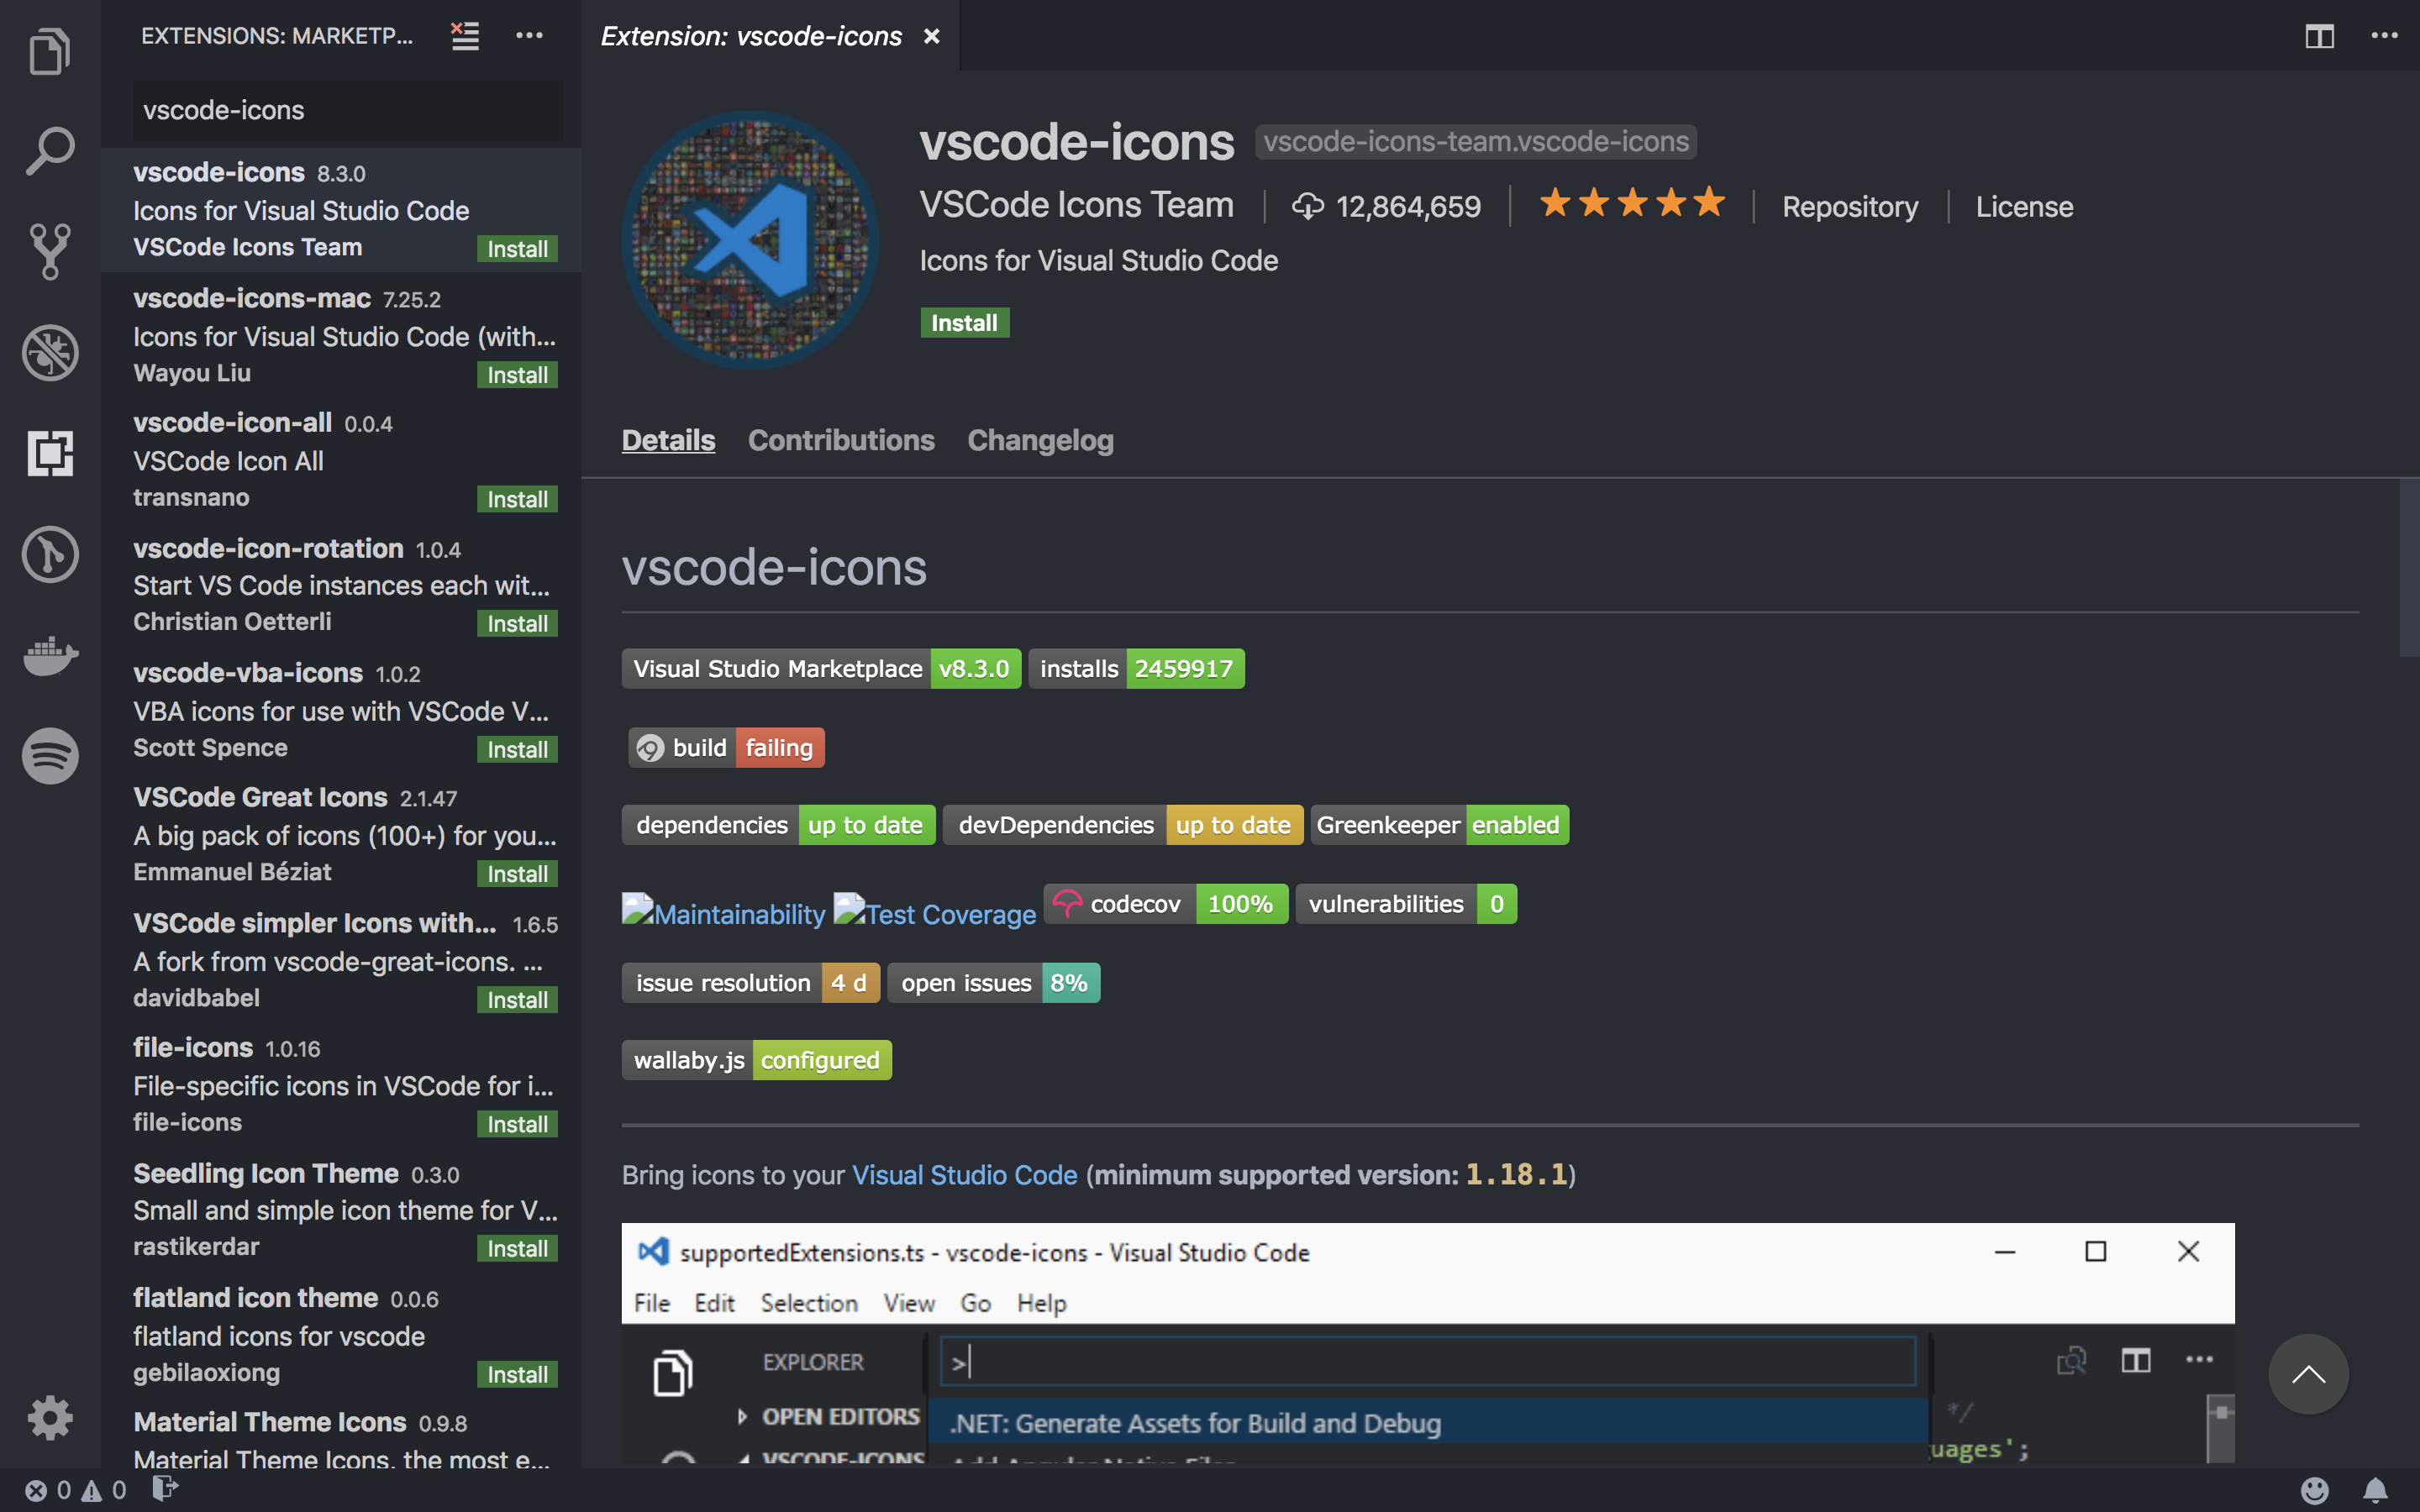
Extension 5 - vscode-icons
It brings icons to your projects.
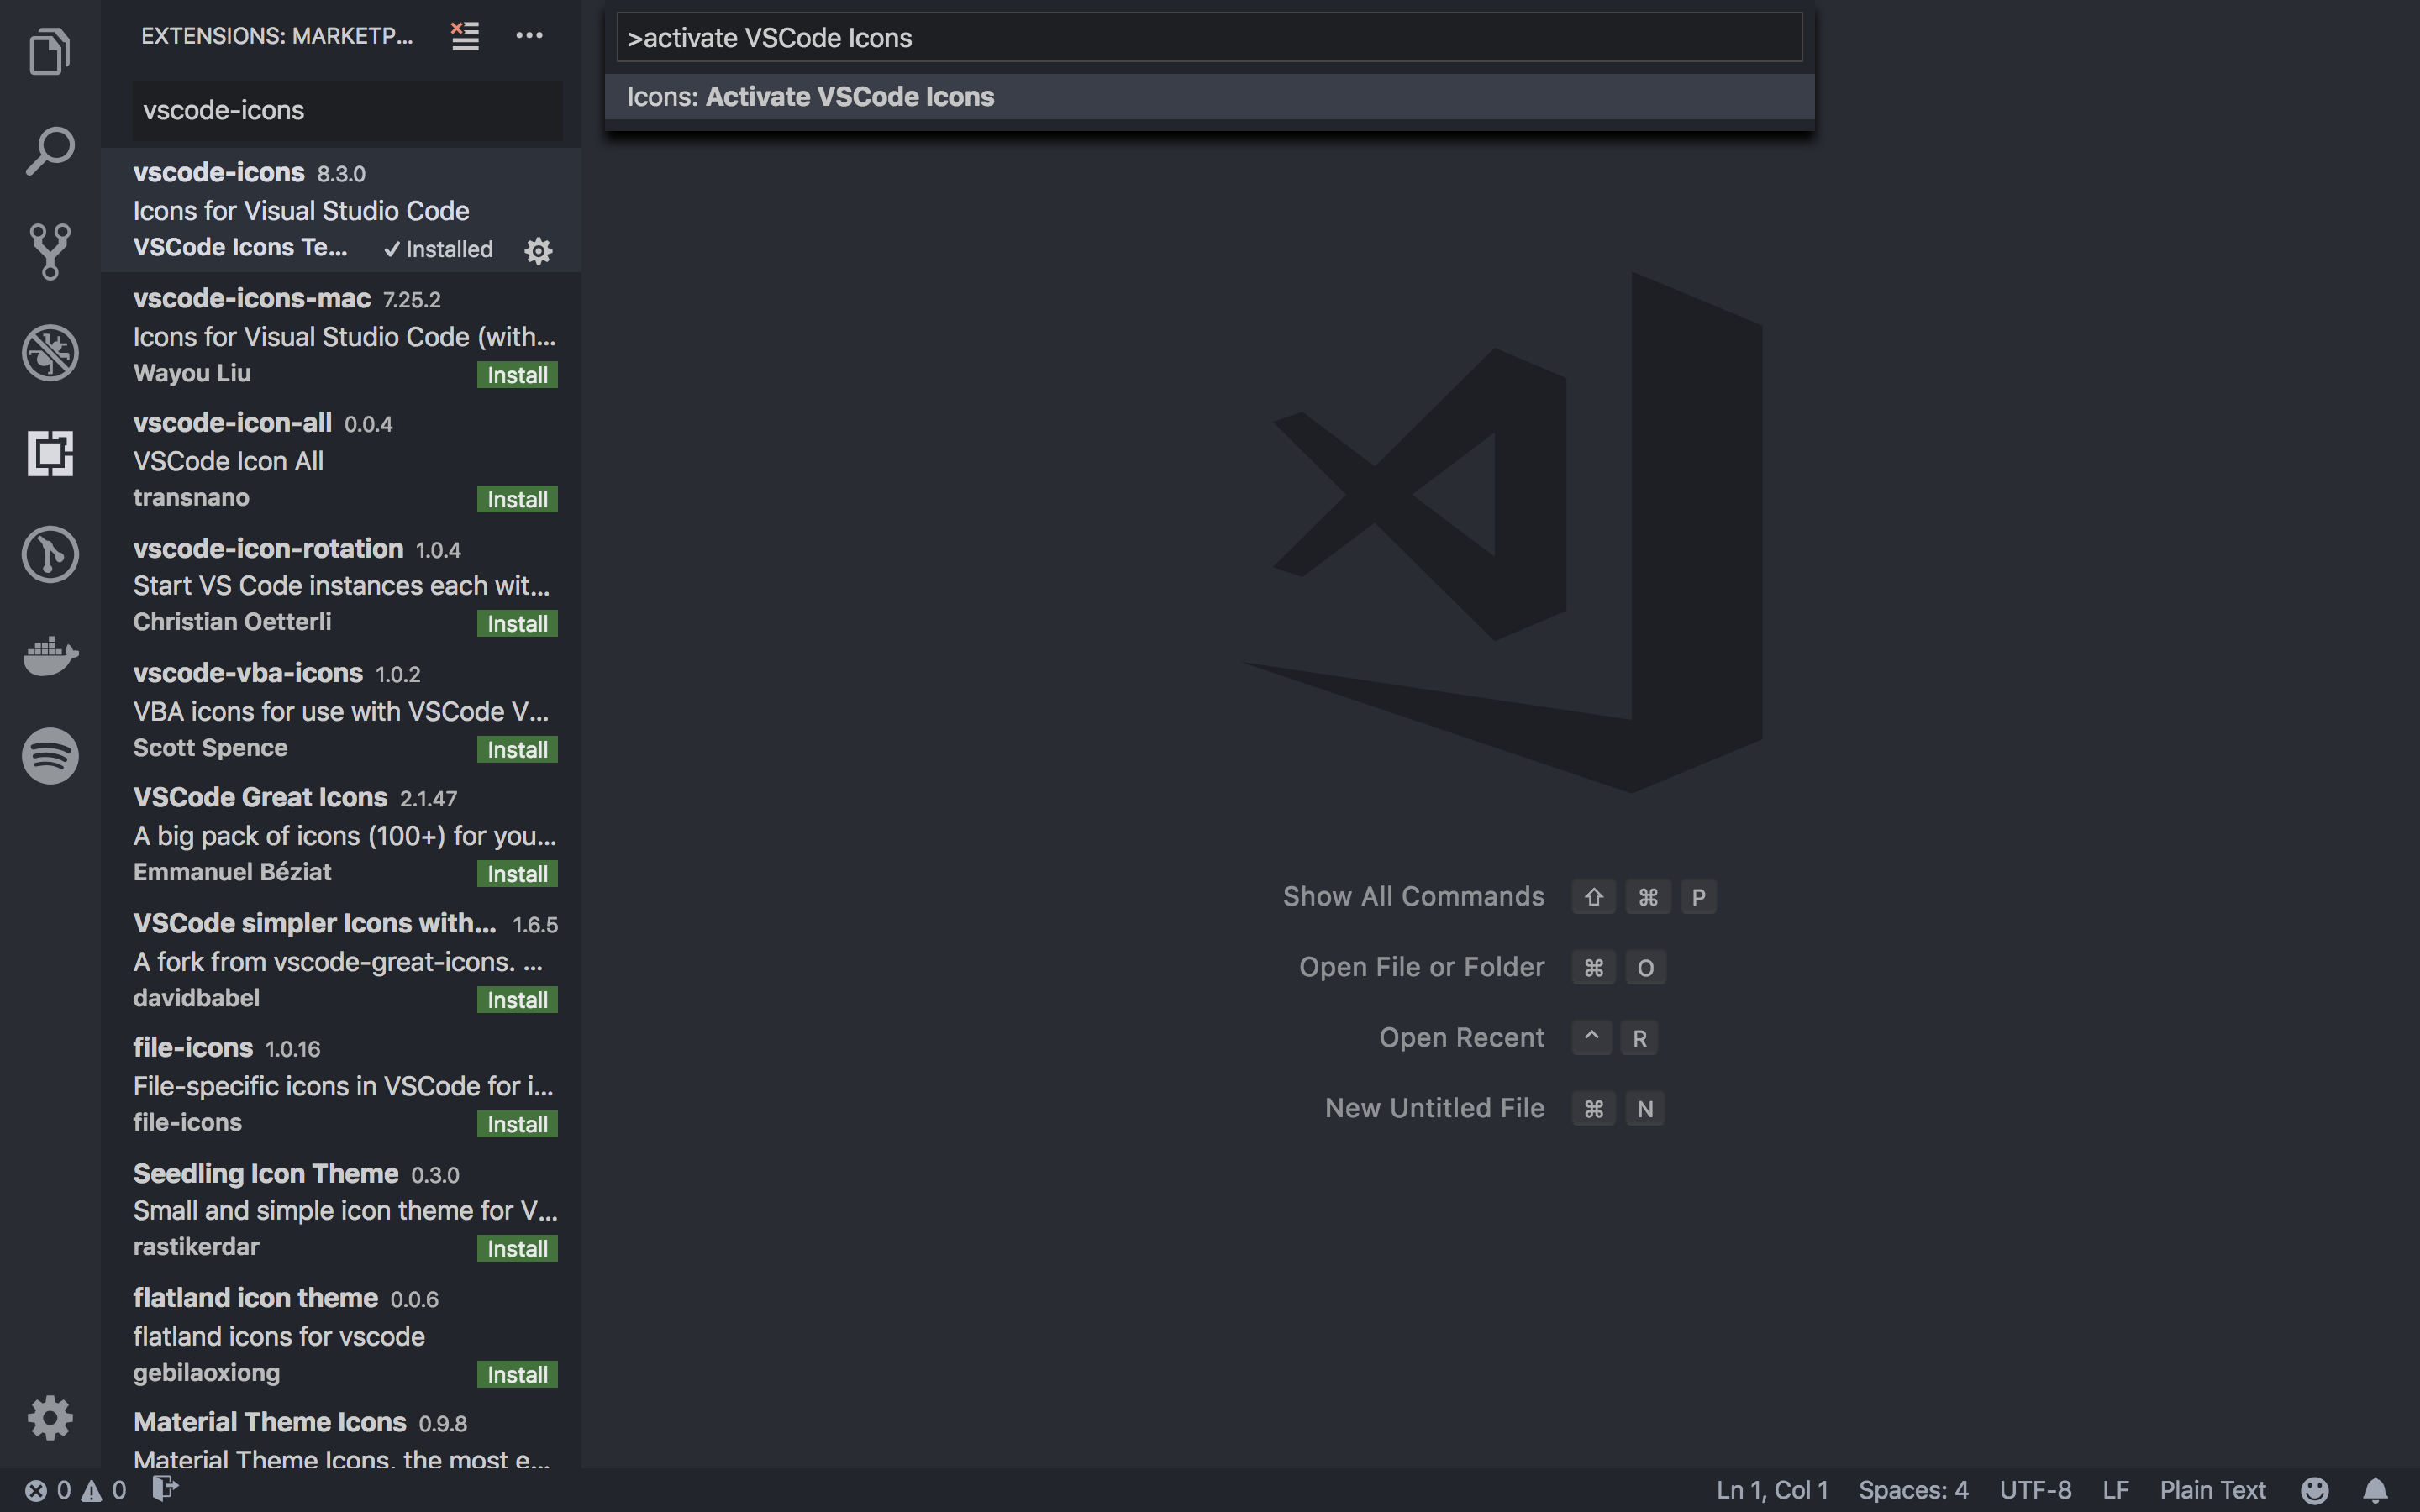
The most important key combination to know is ⇧⌘P, which brings up the Command Palette. Open Command Palette, then type "activate vscode-icons” and click on it.
You are set!
In this post I walked you through setting up the development environment for Cucumber with Ruby on VSCode editor. In my next post, I'm going to show how to create a Cucumber project, debug in step definitions and run scenarios using the terminal.
Follow us on Twitter and sign up for our mailing list to get the most recent news on DevOps and test automation.
